Modern production processes including hot isostatic pressing (HIP), additive manufacturing and metal injection molding and manufacturing techniques involving metal powders.
Micro-CT is used to determine the morphometry of particles in powder metallurgy, for demanding production processes. As a non-destructive technique, it’s also extremely useful for looking inside objects in failure analysis and final parts inspection.
Characterise samples from µm to cm scale in minutes
Applications
Micro-CT (also known as XRM or X-Ray Microscopy) is widely used in areas including:
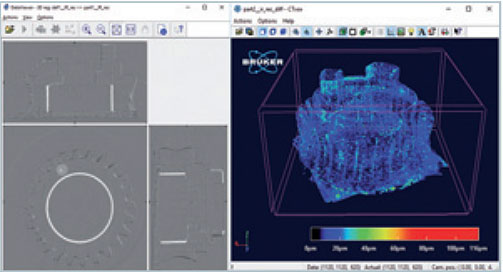
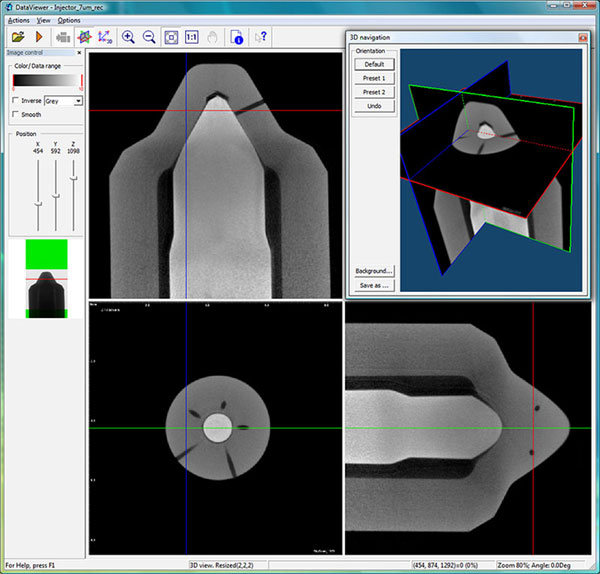
CAD Comparison
Compare manufactured parts with CAD models.
- Measure deviations in 3D, on both internal and external surfaces
- Set pass/fail tolerances at pre-defined inspection points
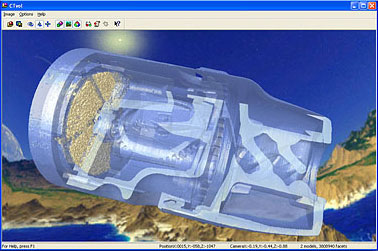
Parts Inspection
- Examine failed products
- Analyse cracks and voids
- Check contact areas at interfaces
- Investigate defects
- Examine reactions to stress and temperature with in-situ stages
Morphometry
Quantitative determination of :
- Porosity & inclusions
- Volume fractions
- Orientation
- Dimensions
- Surface
- Angles
Metal Powders
Quantitative analysis of metal powders – measure parameters including:
- Sphere size distribution
- Sphericity
- Packing
- Porosity
- Surface to volume ratio
- Surface roughness
- Convexity
- Form factor
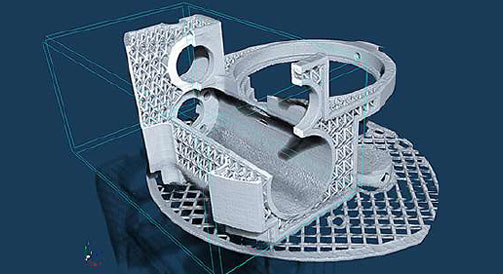
Additive manufactured metal scanned with the Bruker SkyScan 2214
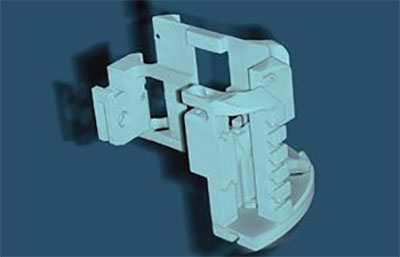
3072 x 3072 x 1217 pixels; 34 µm isotropic resolution.
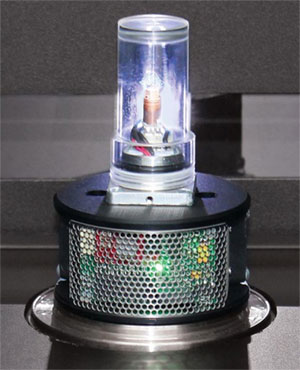
Cooling and Heating Stages
Study how parts and materials react at elevated temperatures up to 85°C and down to 30-40°C below ambient.
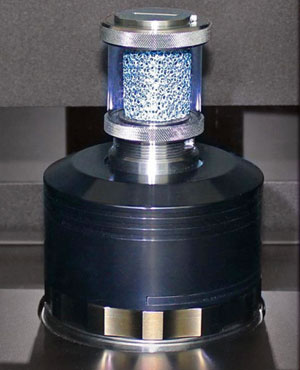
Material Testing Stages
Combine micro-CT imaging with in-situ tensile and compression testing. Loading curves are displayed on screen in real time
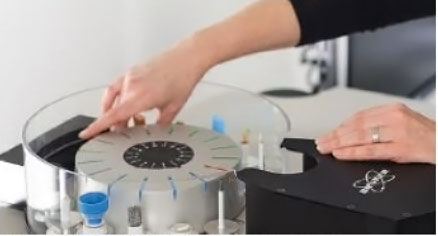
High-throughput Micro-CT with a Sample Changer
Automated scanning to save time. Ideal for checking large numbers of samples in production and quality control.
Instruments
Blue Scientific is the official distributor of Bruker SkyScan in the UK, Norway, Sweden, Denmark, Finland and Iceland. We’re available to advise on which X-Ray Microscopy system would best suit your research – just get in touch.
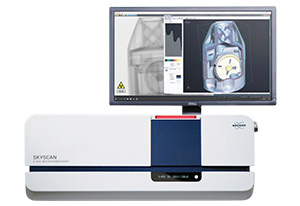
Bruker SkyScan 1275
Fast, automated XRM scanner. Self-optimising features for high quality images every time.
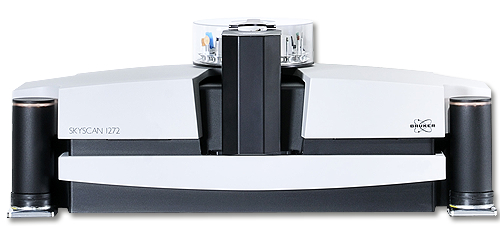
Bruker SkyScan 1272
Sub-micron resolution from a benchtop system. World’s first scanner with >200Mp in each cross-section.

